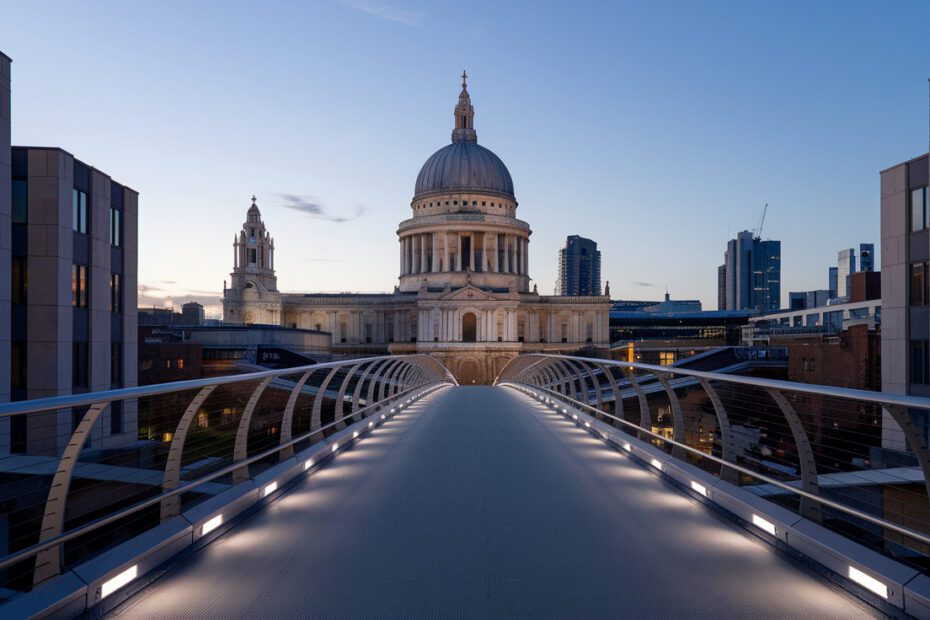
Architectural photography isn’t just about snapping buildings; it’s about capturing their essence, character, and story. From towering skyscrapers to intricate historical sites, every structure has a personality, and these architectural photography tips will help you showcase that in every shot. Imagine giving a building its own photo shoot, complete with its best angles and lighting, to bring out its unique vibe.
Whether you’re an architecture buff with a passion for photographing buildings or a pro looking to expand your portfolio, mastering architecture photography will add a new dimension to your skillset. These tips aren’t just technical – they’re practical, easy to follow, and will help you tackle common challenges, from tricky lighting to finding the right angle. So, grab your camera, and let’s turn these architectural giants into stunning photographic art!
1. Choose the Right Gear for Architectural Photography
Getting the right gear is essential in architectural photography – think of it as your “super toolbelt.” Each piece of equipment has a purpose, and together, they help you capture architecture in all its glory.
- Wide-Angle and Tilt-Shift Lenses: A wide-angle lens is essential for capturing massive structures without distorting them. Imagine fitting a whole cathedral into one frame – a wide-angle lens makes it possible without turning your subject into a funhouse mirror. A tilt-shift lens, on the other hand, is perfect for up-close shots of tall buildings, preventing the “leaning backward” effect. Picture yourself in front of a skyscraper – with a tilt-shift lens, you get a majestic shot that’s straight and professional.
- Telephoto Lenses for Details: Wide angles are great for full views, but sometimes you need to zoom in and capture the details. Let’s say you’re photographing a historic building with elaborate carvings or statues; a telephoto lens lets you focus on the details without having to move closer. It’s like giving your shot a zoomed-in spotlight on the most interesting bits.
- Tripod for Stability: Architectural shots often involve long exposures and low-light settings, making a tripod essential for stability. Imagine setting up for a cityscape at dawn – every slight hand movement could mess up your image’s sharpness. A tripod holds the camera steady, giving you the sharp, clean shots you want.
- Remote Shutter Release: Sometimes, even pressing the shutter button can introduce blur, especially during long exposures. A remote shutter release eliminates this problem, allowing you to take the shot without touching the camera. Perfect for those ultra-detailed shots where you don’t want even a hint of movement!
A well-equipped toolkit lets you capture every detail, perspective, and angle you need to make your architectural photos pop. With the right gear, you’ll be prepared for any building that comes your way. For a deeper dive into the essentials of architectural photography, check out this Comprehensive Guide to Architectural Photography from Adobe.
2. Master Composition Techniques for Architecture Photography
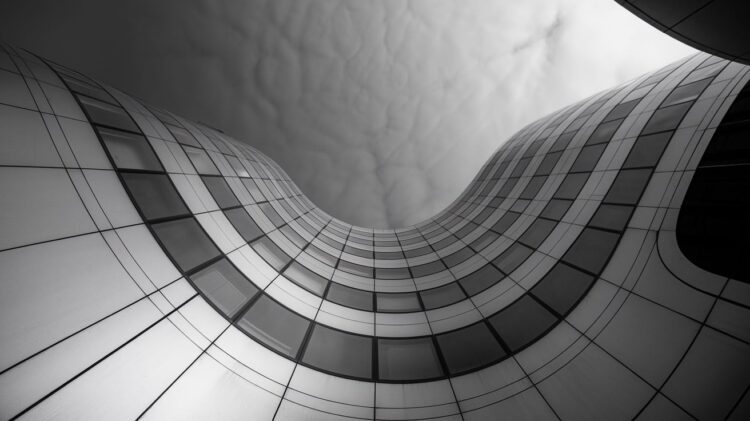
Composition is the choreography of photography – it’s what makes your shot feel balanced, beautiful, and intentional. Knowing how to lead the viewer’s eye can take your images to the next level.
- Leading Lines: Leading lines are natural guides that direct the viewer’s eye, whether it’s a pathway, a row of columns, or even a fence. Imagine a long, elegant path leading up to a grand city hall; the pathway naturally draws viewers into the frame, adding drama and depth to the shot.
- Symmetry and Balance: Many buildings are designed with symmetry in mind. When you emphasize these symmetrical aspects, it creates a sense of harmony. If you’re photographing a bridge or a set of pillars, standing dead center enhances that symmetry, giving your photo a balanced, satisfying feel.
- Rule of Thirds: Breaking away from perfect symmetry can also work wonders. By using the rule of thirds, where your subject is placed off-center, you can create a more dynamic composition that leads the eye naturally through the frame. This works particularly well in modern architecture where asymmetry is part of the design.
- Framing: Using natural or architectural elements to frame your subject can add context and focus. For instance, capturing a historic building through an archway draws the viewer’s eye toward the structure while also adding depth. It’s a great way to add a layer of storytelling to your photo.
- Using Scale for Impact: Adding scale elements, like people or smaller structures, can emphasize the size of a building. Imagine a person standing near a skyscraper – suddenly, the building looks even more grand and impressive.
Each of these composition techniques helps you highlight the beauty and structure of your subject. Good composition is like a roadmap, guiding the viewer’s eye and making the shot feel complete and intentional.
3. Leverage Natural Light to Bring Out Architectural Details
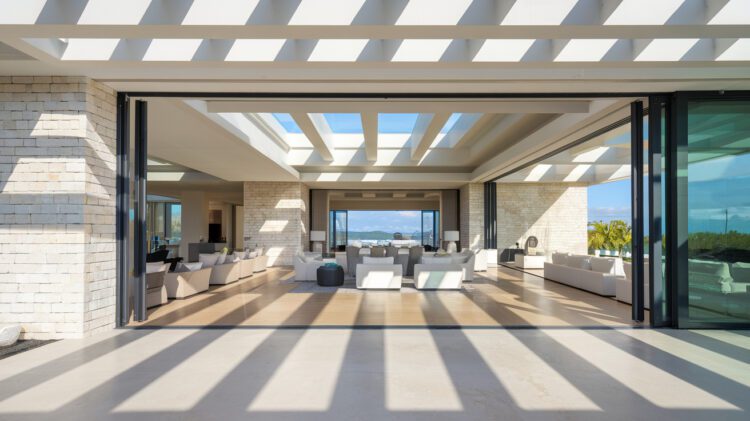
Light is to photography what seasoning is to cooking – it can bring out details, enhance textures, and add mood. Knowing how to use natural light makes a massive difference in architectural photography.
- Golden Hour: Right after sunrise or just before sunset, golden hour light casts a warm glow that makes buildings look their best. Imagine photographing a historic castle bathed in golden light – the soft glow adds richness and brings out every intricate detail, giving the building a magical appearance.
- Blue Hour: Just before dawn or after sunset, blue hour adds a dramatic, moody quality to your shots. If you’re capturing cityscapes with streetlights or illuminated buildings, the contrast between artificial light and natural blue tones creates a cinematic effect. Picture the Eiffel Tower against a deep blue sky – the contrast between the blue hour and warm lights makes for a captivating image.
- Shadows and Textures: Shadows can add depth and texture, emphasizing the building’s structure. On a partly cloudy day, try photographing a modern building with bold, geometric shapes; the shadows cast by the sun can bring out those designs and make the architecture feel more dynamic.
- Reflections: Use reflections on water or glass to your advantage. Photographing a glass-covered skyscraper on a cloudy day can result in beautiful reflections of the sky or neighboring buildings, adding an extra layer of visual interest.
Understanding natural light allows you to play with mood and depth, enhancing the architecture in unique ways. Light transforms your photos from flat to full of life and texture. For further insights on using natural light creatively, check out these 10 Essential Nature Photography Tips and apply lighting techniques to capture the beauty of nature as well.
4. Optimize Your Camera Settings for Stunning Architectural Shots
Even the best gear won’t shine if your camera settings aren’t dialed in. Setting your camera correctly helps you capture all the intricate details without compromising clarity.
- Aperture: Using a smaller aperture (higher f-stop) like f/8 to f/16 keeps both the foreground and background in focus, which is perfect for architectural shots where you want everything sharp. Imagine photographing a palace with gardens in front – a smaller aperture ensures both the building and the landscaping are clear.
- ISO: Keeping ISO low (around 100-200) maintains image quality and reduces noise. This setting is ideal in bright daylight, where you want all those details crisp and clean. In a daylight cityscape, for example, a low ISO makes the architecture pop without grain.
- Bracketing for HDR: Bracketing, or capturing multiple exposures, allows you to create High Dynamic Range (HDR) images. This technique is ideal when shooting buildings with both deep shadows and bright highlights. By combining different exposures, you capture details in every corner, from the darkest archway to the brightest window.
- Shutter Speed: A slower shutter speed can work wonders in low light or at night. Long exposures capture light trails from passing cars, adding a dynamic, energetic touch to cityscapes. If you’re shooting at night, a slower shutter speed also allows you to bring out details in the architecture without sacrificing brightness.
Optimizing these settings brings out the best in your subject, allowing you to showcase the details, colors, and textures of the building without compromise. With the right settings, you’ll capture images that are sharp, well-lit, and packed with detail.
5. Post-Processing Techniques to Enhance Architecture Photography
Editing is the icing on the cake – it’s where you refine your image, correct small flaws, and make it pop. Post-processing can turn a good shot into a great one.
- Color Correction and White Balance: Proper color correction makes sure your images look true to life, especially for buildings with unique materials like marble or brick. Imagine photographing a red-brick historic building that comes out looking too warm; adjusting white balance restores those rich, true-to-life tones.
- Selective Contrast and Texture Adjustments: Bringing out textures on stone or metal through selective contrast adjustments can emphasize the architectural details. For example, adding a touch of contrast to the stonework on a Gothic cathedral highlights the craftsmanship, giving it a sense of depth and richness.
- Perspective Correction: Even with a tilt-shift lens, some photos may still need perspective adjustment. Tools in Lightroom or Photoshop allow you to straighten lines, ensuring your building appears upright and symmetrical. This technique is especially useful for tall structures or interiors where lines can easily appear skewed.
- Removing Distractions: Cleaning up your shot by removing distractions like wires, people, or minor blemishes in the background helps create a polished, professional look. Imagine an otherwise perfect shot of a modern office building marred by a stray construction cone – removing these elements puts all focus back on the architecture.
Post-processing is where you refine and polish your work. With careful editing, you can enhance your architectural photos, creating images that are sharp, vibrant, and professional.
6. Embrace Drone Photography for Architectural Aerial Shots
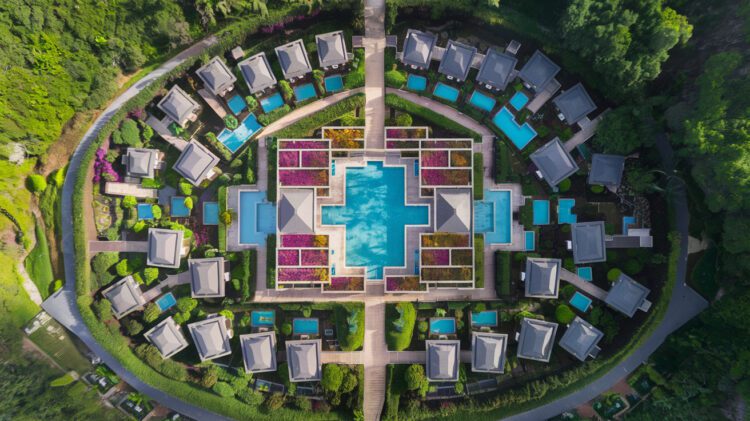
Drone photography opens up a world of unique perspectives, letting you capture buildings from a bird’s-eye view that’s rarely seen. Imagine being able to look down at a sprawling campus or capturing an entire city block from above – drones make it all possible.
- High-Resolution Camera and Stabilization: When choosing a drone, prioritize a high-resolution camera with good stabilization to capture clear, detailed shots from above. Picture flying over a castle – without stabilization, your shot could end up blurry. The right drone camera ensures that every spire, window, and wall stays sharp, even from hundreds of feet in the air.
- Aerial Composition and Framing: Just because you’re shooting from the sky doesn’t mean composition rules go out the window! Consider framing from above to capture buildings, courtyards, or green spaces that add context to the structure. A drone shot of a stadium, for example, shows not only the building but its surroundings, giving viewers a sense of scale and placement within the city.
- Mind the Rules: Drone laws vary by location, so always check local regulations before you start shooting. Some areas, especially around government buildings and landmarks, may restrict drone flights. Following the rules ensures you’re safe and legal, allowing you to focus on creativity without interruptions.
Using a drone lets you capture architecture from perspectives that are otherwise impossible. It’s the perfect tool to showcase buildings in a fresh, exciting way, adding new dimensions to your portfolio.
7. Interior Architectural Photography Tips
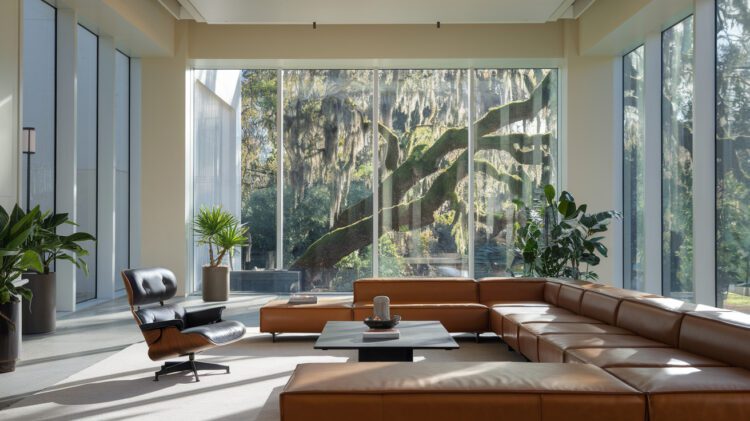
Interior photography offers a chance to capture the beauty of indoor spaces, but it also comes with its own set of challenges, like lighting and space constraints. With the right techniques, though, you can bring out the essence of any room.
- Natural and Artificial Light: Use natural light whenever possible, as it maintains the authentic ambiance of the space. But if it’s limited, use diffused artificial lighting to avoid harsh shadows. For instance, if you’re photographing a cozy museum, add a bit of artificial light to fill in dark corners, while preserving the room’s character.
- Wide-Angle Lens for Full Room Shots: A wide-angle lens allows you to capture the entire room, perfect for small or intricate spaces like boutique hotel rooms or art galleries. However, avoid excessive distortion by positioning yourself carefully, keeping lines straight to prevent the room from looking stretched or exaggerated.
- Detail Shots: Don’t forget to capture the small, unique elements of the space, like intricate moldings, lighting fixtures, or architectural designs on doors. For example, a close-up of a spiral staircase railing in a historical building not only highlights craftsmanship but also adds variety to your shots.
- Using People to Show Scale: Adding a person into the shot gives viewers a sense of scale, especially in grand spaces like lobbies or concert halls. A person standing beside a large sculpture or walking through a vast atrium provides context and scale, showing just how massive the space is.
Interior photography invites viewers into the space, helping them experience the atmosphere as if they were there. With these techniques, you can showcase the uniqueness of indoor architecture effectively.
8. Post-Processing Techniques to Enhance Architecture Photography
Editing is like giving your photo a little extra polish, bringing out details, enhancing colors, and making sure everything looks as stunning as it did in real life – or even better! Post-processing helps you achieve that “wow” factor.
- Color Correction and White Balance: Adjusting color and white balance makes sure your images accurately reflect the building’s true colors. Let’s say you photographed a historical landmark with red brick and marble details – correcting the white balance ensures that those colors look natural and true to life, capturing the building’s authentic character.
- Selective Contrast and Texture: Increasing contrast or clarity in specific areas brings out details like stone textures, wood grain, or metal patterns, adding depth to your image. Imagine capturing the stone carvings of a Gothic cathedral – a little extra contrast in these areas can emphasize the craftsmanship, making the details pop.
- Perspective Correction: Even if you used a tilt-shift lens, some shots may need a slight adjustment in editing to ensure straight lines and symmetry. Perspective correction in Lightroom or Photoshop allows you to make these adjustments easily. This is particularly useful for tall buildings or interior shots where wide-angle lenses can skew lines.
- Cleaning Up Distracting Elements: Sometimes, you’ll capture an otherwise perfect shot, but there’s a stray sign, wire, or person in the background. Editing tools can help you remove these distractions, keeping the focus on the architecture. Imagine a modern skyscraper with clean lines disrupted by a few cables – removing these helps maintain the building’s polished look.
Post-processing turns a good architectural photo into a great one. With these adjustments, you’ll create clean, vibrant, and professional images that showcase each building at its best.
9. Ethical and Legal Considerations in Architectural Photography
As much as architectural photography is about creativity, it’s also about respect for the spaces you’re capturing. Being mindful of ethical and legal considerations keeps you on good terms with both the community and the law.
- Public and Private Spaces: Not all spaces allow photography, especially private properties and government buildings. Always check for permissions or permits if you’re planning to shoot commercially. For example, a famous building might have restrictions on commercial photography, requiring a license to sell the images.
- Respecting Privacy: When photographing buildings in populated areas, be mindful of privacy. Avoid capturing interiors of private residences unless you have permission. Instead, focus on the architecture itself. In cityscapes, if your shot includes residential windows, angle it to reduce visibility into private spaces, ensuring you respect people’s privacy.
- Permissions for Commercial Use: If you plan to use or sell your photos commercially, securing the necessary permissions is crucial, especially for iconic or restricted buildings. For instance, some landmarks may require a commercial license, so it’s best to verify in advance. Obtaining permissions also allows you to confidently use your photos for any professional projects or publications.
Understanding these ethical and legal aspects helps you capture stunning images responsibly, allowing you to focus on creativity without any worries. It’s a small step that goes a long way in preserving the beauty and integrity of the spaces you photograph.
