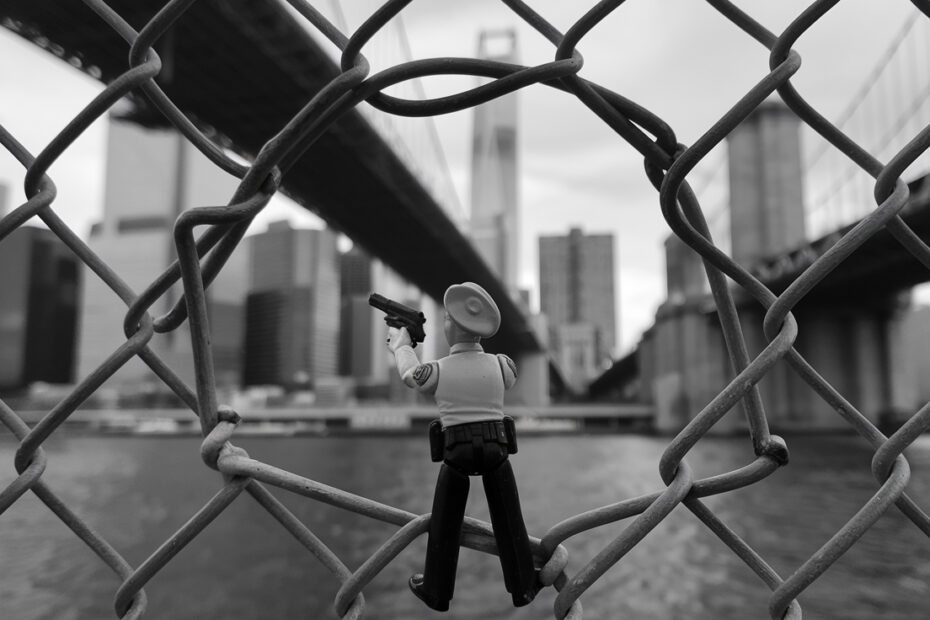
If you’re like me and love exploring cities with your camera, you know that urban landscape photography can be both challenging and incredibly rewarding. There’s just something special about capturing the energy, architecture, and vibe of a city. So, let me share my top 10 urban landscape photography tips that have helped me capture stunning cityscapes. Whether you’re a seasoned pro or just starting out, these tips will help you step up your game.
1. Urban Landscape Photography Tips for Maximizing Golden Hour Lighting
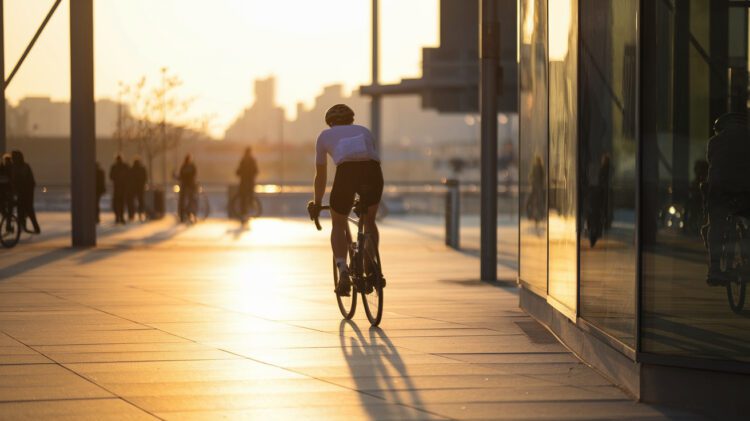
If you’re anything like me and enjoy wandering through cities with your camera, you know that timing is everything. One of my absolute favorite times to shoot cityscapes is during the golden hour—the brief window just after sunrise or right before sunset. The light at this time is soft, warm, and incredibly flattering to both people and buildings. Trust me, it’s the perfect moment to head out with your camera.
Whenever I’m out during golden hour, I make sure to keep my ISO around 100-200 to get the sharpest images possible, without any of that grainy noise you sometimes get. For most cityscapes, an aperture of f/8 to f/11 is ideal. It keeps both the foreground and background sharp, so you don’t lose any of the incredible detail. Another tip? Make sure to arrive early! The golden hour doesn’t last long, and you’ll want to be ready when that light hits just right.
Golden hour light does wonders for your photos, adding a natural contrast that brings out all the textures and details in the city. I’ve always found that this is when the streets and buildings seem to come alive, almost as if they’ve been bathed in a soft, golden glow. It’s honestly one of the best times to capture the essence of an urban landscape, so don’t miss it.
3. How to Photograph Cities at Night
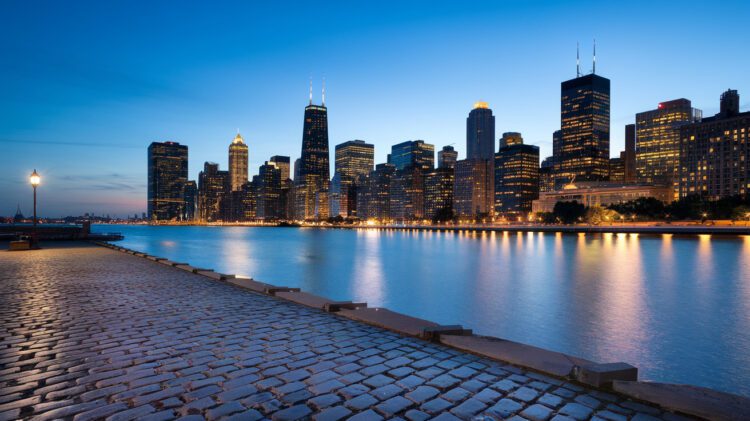
Photographing cities at night is something I always look forward to. There’s something magical about how the city changes once the sun sets, with all the streetlights and neon signs lighting up the night. If you want to capture this unique vibe, here are some of my go-to urban landscape photography tips for night shots.
First, set your ISO to around 400-800. This lets in enough light to keep your shot clear without introducing too much grain. I usually stick with an aperture of f/11, which keeps everything in focus—especially important when you’re dealing with a bustling, lit-up city. And here’s where it gets fun: experiment with long exposures! A shutter speed between 10 to 30 seconds will allow you to capture those beautiful light trails from passing cars, adding movement and energy to your shots.
Whenever I shoot at night, I always use a tripod. It’s essential for long exposures since even the slightest movement can blur your photo. Trust me, you’ll be glad you brought it along when you see those crisp, sharp shots with dazzling light trails weaving through them.
4. Incorporate Reflections for Dynamic Compositions
I’m always on the lookout for reflections when shooting in urban settings. Whether it’s a puddle on the street after a rainstorm or the glass facade of a shiny building, reflections can add a whole new level of depth to your urban landscape photography.
When I find a good reflective surface, I love positioning my camera to capture both the subject and its reflection. It creates a mirror effect that gives the image more complexity and symmetry. The best part? Reflections often provide an opportunity to show the city from multiple angles all in one shot, which makes for a more dynamic and interesting composition.
One of my favorite tricks is shooting right after the rain. Puddles on the ground can reflect the buildings, street lights, or even people walking by, and it adds a new dimension to an otherwise straightforward shot. Honestly, once you start looking for reflections, you’ll never stop noticing them!
5. Use Leading Lines to Guide the Viewer
Leading lines are one of my go-to techniques for drawing the viewer’s eye toward the subject. In cities, these lines are everywhere—roads, bridges, sidewalks, and even building edges can serve as natural guides.
- Look for streets, railings, or even pathways that create strong lines leading into your frame.
- Diagonal lines add a sense of movement, while vertical or horizontal lines offer stability.
What I love about leading lines is how they add depth to a photo, making the city feel expansive and dynamic. By carefully placing these lines in your composition, you can control how the viewer’s eye moves through the image. It’s an easy yet powerful way to create a sense of flow.
6. Experiment with Elevated Perspectives in Urban Landscape Photography
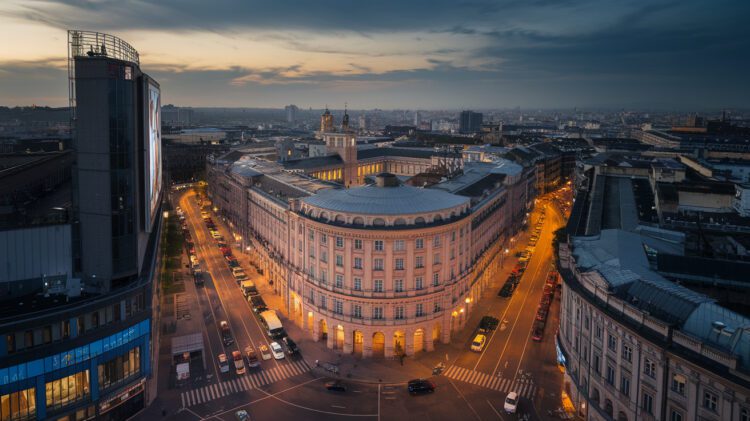
Whenever I get the chance, I love shooting cityscapes from a higher vantage point. Rooftops, balconies, or even drone shots can give you an entirely new perspective on the city.
- Find a rooftop or high vantage point to capture the city from above.
- Use a wide-angle lens to capture the entire cityscape in a single frame.
- Sunrise and sunset are perfect for elevated shots, as the lighting adds a dramatic effect.
Shooting from above lets you capture the true scope of the city. I’ve found that this perspective not only showcases the height of buildings but also reveals patterns in the streets below, which can give your photos a sense of grandeur. Plus, during rush hour, the motion of cars and people from above adds another layer of interest to the shot.
7. Use Foreground Elements to Create Depth
One trick I often use to make my cityscape photos feel more immersive is incorporating foreground elements. Things like street lamps, trees, or even people in the foreground can add layers to your shot and create a sense of depth.
- Look for elements in the foreground to frame your subject and add scale.
- Position objects like lampposts or signs off to the side to guide the viewer’s eye.
- A wide aperture can help blur the foreground slightly while keeping the background sharp.
Foreground elements are great for framing your shot and giving your photos more dimension. I like to experiment with different objects—sometimes, even a passing car in the foreground can add a dynamic feel to the image. It’s all about playing with layers to create a more engaging composition.
8. Focus on Minimalist Compositions in Urban Landscape Photography
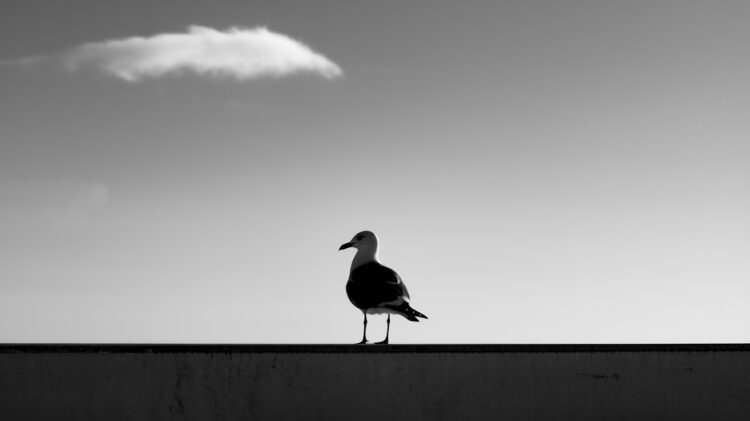
Sometimes, less really is more. Urban environments can feel chaotic, with so many competing elements, but a minimalist approach can help you create clean, impactful images.
- Simplify your composition by focusing on one or two key elements.
- Look for interesting shapes or textures to isolate in the frame.
- Negative space can be used to give your subject room to breathe.
Minimalism allows the viewer to focus on the beauty of a single element. I find that by isolating just one part of a building, like a unique window or a bold geometric pattern, you can create a striking image that really stands out from the clutter of the city. When I’m feeling overwhelmed by the busyness of an urban environment, I take a step back and focus on a specific detail. It’s a great way to declutter your photos and make a strong visual impact.
One of my favorite minimalist shots involved a single streetlight against the backdrop of a blank building wall. The contrast was stark, but that’s what made it so powerful. It was simple, elegant, and the viewer’s eye was drawn directly to the subject without any distractions.
9. Balance Architecture and Nature
Cities aren’t just made of steel, concrete, and glass—many urban landscapes are home to stunning parks, rivers, and pockets of nature that beautifully complement the architecture around them. Blending natural elements with urban structures can create a more balanced and visually interesting composition. For more tips on capturing the beauty of nature in your photos, check out these 10 essential nature photography tips to improve your outdoor and landscape shots.
- Look for opportunities where nature and architecture intersect, such as parks near tall buildings.
- Use trees or greenery to frame your shots and soften the harsh lines of skyscrapers.
- Rivers, lakes, or ponds can add stunning natural reflections to your urban landscape photos.
One of my favorite things to do when shooting in a city is finding spots where nature and architecture coexist. For example, when I’m near a large park surrounded by tall buildings, I’ll use the trees or foliage as a natural frame for the shot. The contrast between the organic shapes of the trees and the rigid lines of the buildings creates a composition that feels both balanced and dynamic.
I also love shooting near rivers or lakes that reflect the surrounding buildings, giving me the chance to capture a beautiful mirror effect. The still water acts like a second canvas, doubling the impact of the urban scene and adding a natural layer that softens the hardness of the city. It’s a great way to show how nature can soften the harsh edges of the urban environment, creating a serene and balanced image.
Balancing architecture with nature adds depth to your cityscapes and offers viewers a sense of harmony. In an era where green spaces are more important than ever, highlighting the blend of nature and urban infrastructure can tell a powerful story about how cities are evolving to incorporate more sustainable, livable spaces.
10. Explore Drone Photography for Unique Perspectives in Urban Landscape Photography
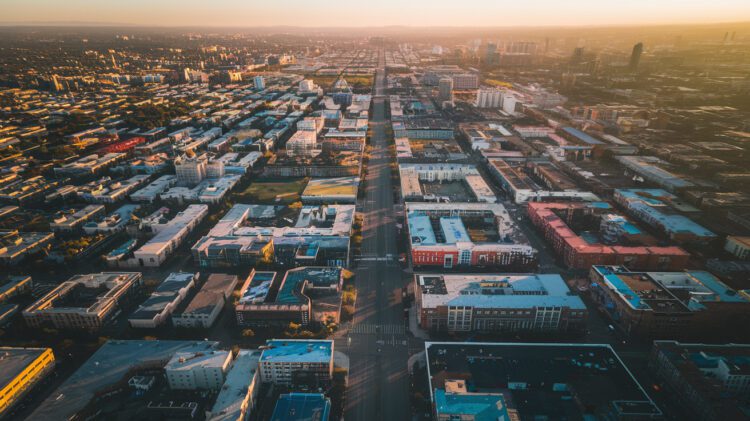
In recent years, drone photography has taken the world by storm, and it’s no wonder—it gives you a completely different view of the city. If you’ve never tried using a drone to capture urban landscapes, now might be the time to explore this exciting technique.
With a drone, you can fly above the streets and get a bird’s-eye view that just isn’t possible from the ground. It’s perfect for capturing the layout of a city—the way the roads intersect, the spread of the buildings, or even how green spaces fit into the urban sprawl. One tip I love: experiment with different altitudes. Sometimes a lower shot gives you a great close-up of architectural details, while higher altitudes give you sweeping panoramic views.
Another cool trick is shooting at sunset or during twilight. The light at that time, combined with the unique perspective of a drone, results in truly stunning images. You can even experiment with video, capturing moving traffic or a time-lapse of the city lights coming to life as the sun goes down.
Conclusion
Urban landscape photography is all about exploring and capturing the beauty of the city from different angles. Whether you’re shooting during the golden hour, experimenting with reflections, or trying out the latest trends like drone photography, there’s always something new to discover. Every city has its own character, and as you practice and refine these techniques, you’ll start to see the city in ways you never have before.
So grab your camera, hit the streets, and remember: the best shots are often just around the corner. The more you experiment, the more your unique style will shine through, and before you know it, you’ll have a portfolio of stunning urban landscape photos that truly stand out.
